Showing posts with label lotion. Show all posts

Friday, December 13, 2013

Yureka! A Sugar Scrub That Turns Into Lotion!

My interest started when I saw an image of a fluffy sugar scrub that didn´t look like what I was using at all.

Mine didn´t hold together long enough to take a picture unless it´s on a spoon.  How could this be?  I started reading about it further and little by little, I learned about an emulsified sugar scrub.  I started here:
http://swiftcraftymonkey.blogspot.com.es/2013/01/facial-scrubs-emulsified-scrubs.html

I´ve been using an oil with sugar scrub for months and love how my skin feels afterwards.  It´s a different story for the sink and tub however; I´ve even slipped while trying to exfoliate my heal while standing (that was silly of me).  Well, that´s in the past now ever since I´ve started using this emulsified sugar scrub.  An important ingredient is an emulsifying wax (E-wax) which is commonly used in making lotions and creams in order to keep the oils and water from separating.  So imagine having the E-wax in the sugar scrub.  Once you start rubbing the sugar concoction onto wet skin, it creates lotion! Bye, bye to oily tub residue, and say hello to well hydrated skin without the need for lotion application after the shower.

The recipe I used is adapted from  http://www.soapalooza.com

620 grams olive oil
100 grams coconut oil
  50 grams shea butter
100 grams e-wax (Polawax)
  80 grams stearic acid
  50 grams beeswax
    2 kilos white sugar
  20 grams fragrance oil (honeydew melon)
  10 grams preservative (Sharomix)
 
Heat the oils, butter, both waxes and stearic acid on low until completely dissolved.

Pour into a heat-proof glass bowl with the sugar and stir well.  

Why the glass bowl?  It helps cool the batter and it´s easier to see if the mixing is thorough enough.
Once the bowl feels warm to the touch (below 50ºC), add the scent, skin-safe colorant (if using) and preservative.  I used a bit of green food coloring to match the honeydew melon fragrance oil. The final product is pourable at this point to get it into jars.  It will firm up some more so that if you tilt the jar, the dough will not budge but pliable enough to grab some to take with you to the shower.


Tuesday, December 10, 2013

Making Creamy Goat´s Milk Lotion


Wow! I was super excited seeing how this lotion came to be that I wanted to share my experience in making it.  It turned out better than I imagined; creamy and feels divine on the skin. 

I remember watching a video many months ago on the making of goat´s milk lotion but I wasn´t in my lotion phase at the time and left it at that since I was more into soaping.  Now that I have too much soap and am taking a breather, I started looking into lotions.  Today I came across the same video by Susie at
http://www.oursimplefarm.com

I watched the video twice to make sure I had it clear of what to do.  I had just about everything I needed so I used the lotion calculator  http://www.sbwave.com/lotion/  to come up with a comparable recipe to make 500 ml worth of lotion.

25 grams e-wax
20 grams stearic acid
35 grams sweet almond oil
25 grams shea butter
20 grams avocado oil
184 grams goat´s milk
184 grams bottled water (I didn´t have distilled water)
4 grams Sharomix preservative
5 grams rose fragrance oil
1 gram Vitamin E

I weighed out the oils, the stearic acid and e-wax into a heat-proof glass container;  the goat´s milk and water goes into another container.  My scale only has whole numbers for the grams so they are not as accurate as I would like.


Each glass container gets heated through in a hot water bath before combining their contents together.   I made sure all of the stearic acid and shea butter has melted.


Once it´s warm to the touch, I added the scent, preservative and Vitamin E oil.  


At first I hand mixed it and then used the stick blender to make sure everything stays emulsified and to also "fluff" the batter into the creamiest of creams.


A very straight forward recipe and the result is a sublime cream for face or body!

Update:
The lotion thickened up even further the following day, so the pump didn´t work as well.  It would be better in a cream jar or tub.  I like a thinner lotion; will make the next batch with more water or reduce the e-wax since I am partial to the pump bottles so I won´t risk contaminating the lotion.

Tuesday, May 14, 2013

Beeswax in Sweet Almond Oil Lotion

I located a lotion recipe via Pinterest that uses beeswax instead of an emulsifying wax (I had used cetearyl alcohol before) and I wanted to try this version out.  I haven´t had too much luck with beeswax in lotions; the lotions tend to separate over time.  I have also tried soy lecithin as an emulsifyer without much luck either, but that will be for another post.

So here´s the recipe from Wisebread.com:
1 oz. beeswax (I used yellow pellets)
   1/4 cup coconut oil (the yummy smelling kind)
1 1/4 cups sweet almond oil
1 Tbs. grape seed oil
1 Tbs. vitamin E oil
   1/2 cup hot distilled water
1 ml Germall plus (I try to use a preservative if there´s water involved just to be safe)

I placed the beeswax and the oils in a double boiler to melt the wax and get everything to the same temperature.  Vitamin E went in towards the end to minimize any deterioration.


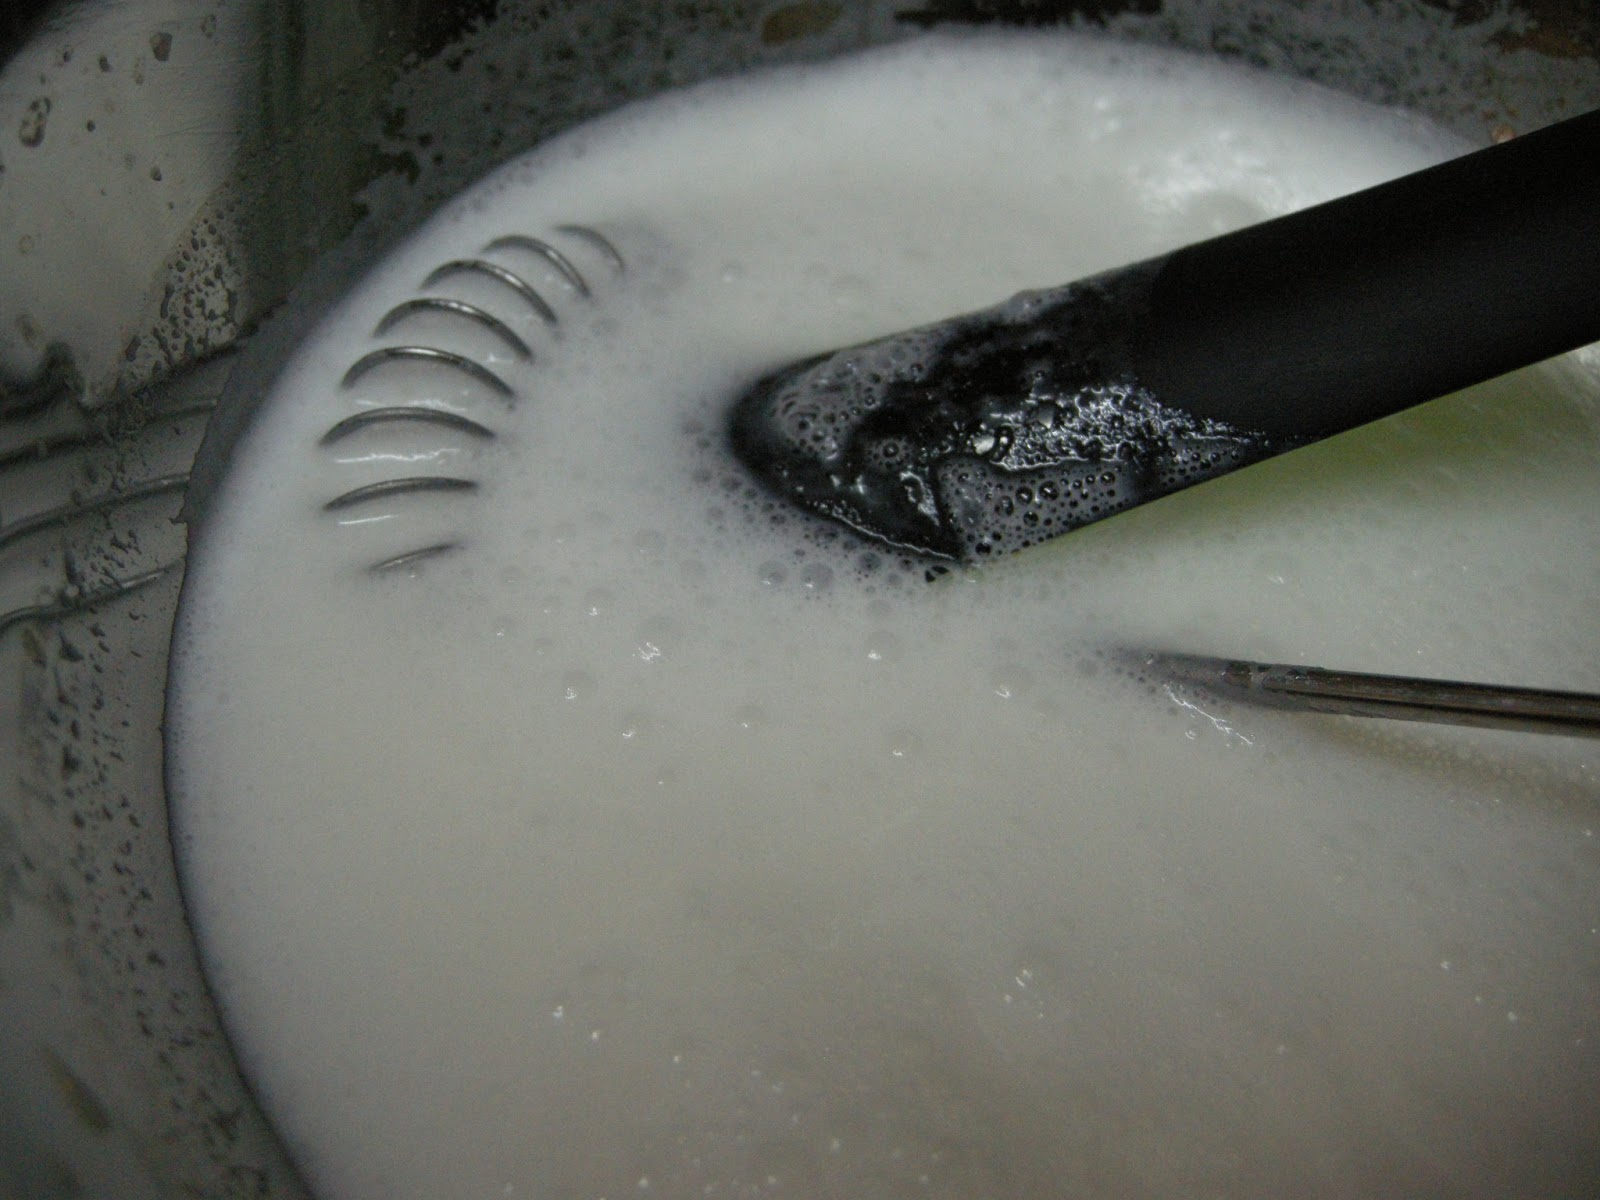
Once all the wax was melted, I took it off the heat and while whisking the oil, I carefully drizzled in the hot water.  I then stirred and stirred; I also placed a cold water bath under the bowl to help it cool.  It turned gelatinous and off white once it started to cool.  I added the Germall once the temperature was below 50ºC.  When the bowl felt lukewarm, the texture was like sweetened condensed milk.


It was too runny for a jar or a pump dispenser.  I was just going to store it in an empty plastic bottle until I looked over to the stick blender.  "Why not?" I thought to myself.  So I poured the batter into a wide mouth beaker and stick blended the cream.  It turned whiter and somewhat thicker from the air that had been incorporated into solution and it held up quite well as you can see on the spoon below.  It´s still too runny for my liking but at least now, a pump dispenser is an option.  I think less oil would work out better because as it is, it leaves the skin shinier than I would like.

Before and after mixing with the stick blender.

I can see this as the perfect after-shower-lotion, definitely; the oil barrier will help hold the moisture in the skin even better.  If you can get a delicious smelling coconut oil, there´s no need for any other fragrance or essential oil.  The original recipe included an optional 15-20 drops of essential oil.

Update: Since the making of this lotion which I calculate to have about 80% oil,  I´ve located a lotion calculator (link is at the sidebar) which suggests only using up to 25%.  Hence, the shininess on the skin;
it wasn´t necessarily greasy since I used mainly almond oil.

Saturday, May 11, 2013

Yummy Almond Joy Lotion

I wanted to blog on my soaping trials but I have recently deviated to lotions.  Since I have so many soap bars curing, I am taking a break and decided to use the oils on hand for lotions and creams.  I have this jar coconut oil that just smells so delicious that I am always tempted to eat it up; it´s that good.  I wanted a lotion with this aroma so I can enjoy it daily.

 In a double boiler, melt
30 grams emulsifying wax
     (I used cetearyl alcohol / PEG-20 stearate; it is considered safe in food and cosmetics.)
      http://www.naturalwellbeing.com/learning-center/Cetearyl_Alcohol
40 grams of coconut oil
10 grams of sweet almond oil

In a separate pot, heat 1 1/4 cups of distilled water

While these two are heating, measure out in a small mearuring cup the following additives:
5 grams of Vitamin E
3 grams of Germall Plus liquid preservative
     (It´s paraben free but I´ve read both good and not so good things about this
      preservative.  If in doubt, don´t use it.
      If not using it, store your lotion in the fridge and use it up within a few weeks.)
1/2 ml almond flavor oil
     (this was a last minute decision because the coconut smell reminded me of Almond Joy;
      it smells like the almond extract but without the alcohol; found it in the baking section)
10 grams of glycerine

Once the oils/wax are melted and the water slightly boiling, remove both from the heat.  While whisking the oil solution, slowly drizzle in the hot water until all is incorporated.  The mix will turn milky white.


Keep stirring until the mix is below 50ºC.  I set the stirring bowl over another bowl with cold water to help cool it faster.  Add in the additives and continue to stir.


Put it in a clean jar and let it cool before placing the lid on.  It´s fluid enough to put it in a bottle with a pump dispenser.  I have a bottle of this near the kitchen sink.  Don´t throw away those alcohol gel dispenser bottles; there´s no need to clean it because it´s already sanitized.


Next time I´ll consider adding some chocolate aroma to it to complete the candy bar experience.